Condition Agent
Learn about condition agent and how to implement it effectively.
condition agent (Agentflow Node)
The condition agent node in InnoSynth-Forjinn leverages the power of Large Language Models (LLMs) to dynamically determine which predefined scenario an input (e.g., a user's message) best matches. This allows for highly intelligent and flexible conditional branching in your AI workflows, going beyond simple keyword matching.
Purpose
Unlike the basic condition node that relies on explicit comparisons, the condition agent uses an LLM to understand the nuances of an input and categorize it into one of several defined scenarios. This is ideal for:
- Intent Recognition: Determining the user's intent (e.g., "asking for support," "making a purchase").
- Dynamic Routing: Directing conversations or data flows to different sub-workflows based on complex, natural language understanding.
- Categorization: Classifying inputs into predefined categories.
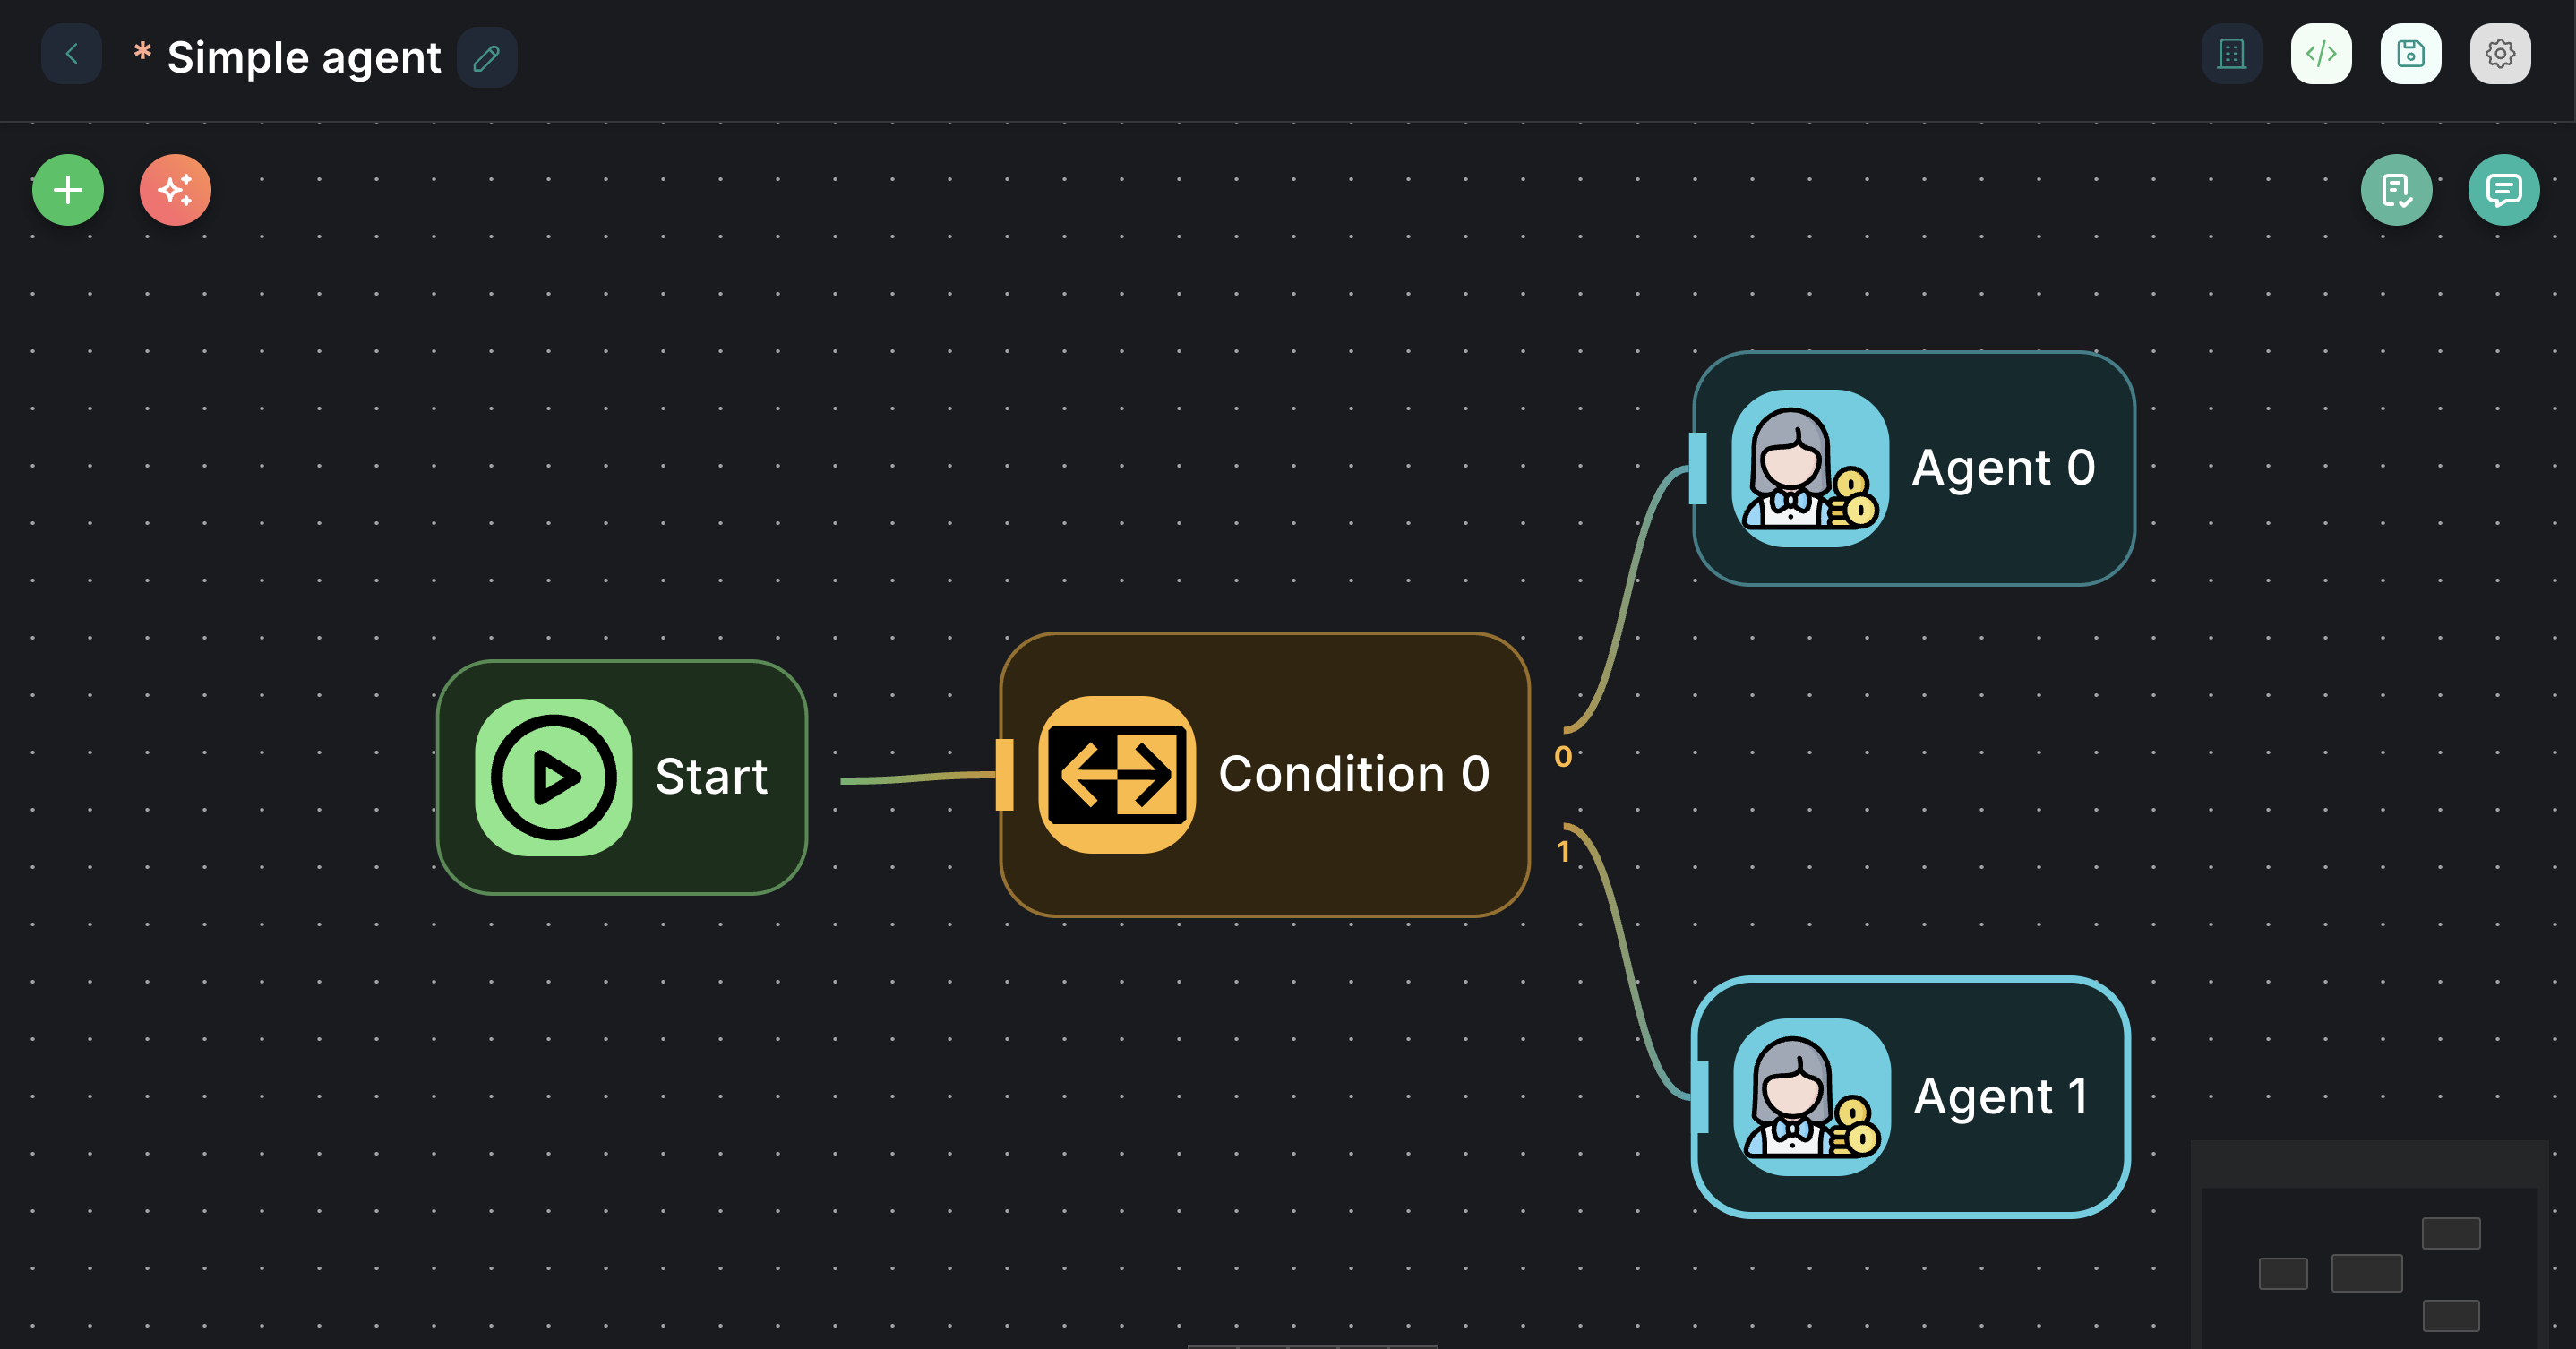
Appearance on Canvas
Configuration Parameters
The condition agent node requires an LLM and a set of scenarios to operate.
1. Model (Required)
- Label: Model
- Type:
asyncOptions(loads available Chat Models) - Description: Select the Large Language Model (LLM) that will act as the "brain" for the condition agent. This LLM will analyze the input and determine the best-matching scenario.
- Configuration: You can configure the selected model's specific parameters (e.g., API key, temperature, model name) via the
conditionAgentModelConfigproperty, which is loaded dynamically.
2. Instructions (Required)
- Label: Instructions
- Type:
string - Description: A general instruction for what the condition agent should do. This guides the LLM's decision-making process.
- Placeholder:
Determine if the user is interested in learning about AI - Example: "Categorize the user's query into one of the provided scenarios."
3. Input (Required)
- Label: Input
- Type:
string - Default:
{{ question }} - Description: The input text that the condition agent will analyze to determine the scenario. This typically comes from a user's message or a variable from a previous node.
4. Scenarios (Required)
- Label: Scenarios
- Type:
arrayof objects - Description: Define the possible scenarios that the agent should identify. The LLM will choose the best match from this list.
- Scenario: A descriptive string for each possible scenario (e.g., "User is asking for a pizza," "User wants to book a flight").
5. Override System Prompt (Optional)
- Label: Override System Prompt
- Type:
boolean - Description: If enabled, you can provide a custom system prompt for the condition agent, overriding the default.
6. Node System Prompt (Optional)
- Label: Node System Prompt
- Type:
string - Default:
CONDITION_AGENT_SYSTEM_PROMPT(a predefined system prompt) - Description: (Visible when Override System Prompt is
true) Expert use only. Modifying this can significantly alter agent behavior. Leave default if unsure. This allows for fine-tuning the LLM's instructions.
Inputs & Outputs
- Input: Receives the text to be analyzed (e.g., user query).
- Outputs: The node has multiple output ports:
0(condition 0): This is the output path taken if the first scenario in theScenariosarray is matched by the LLM.1(Else): This is the default output path taken if none of the defined scenarios are matched by the LLM.- Additional numbered outputs (
2,3, etc.) will appear for each subsequent scenario you add in theScenariosarray.
Example Usage: Smart Intent Routing
Let's say you want to route customer inquiries to different departments based on their natural language.
- Connect a
Startnode to the input of acondition agentnode. - Configure Model: Select a suitable
Chat Model(e.g.,OpenAI Chat Model). - Set Instructions: "Determine the user's primary intent from the following options."
- Set Input:
{{question}}(assuming user input is passed asquestionvariable). - Define Scenarios:
- Scenario 0:
User is asking for technical support - Scenario 1:
User is inquiring about billing - Scenario 2:
User wants to know about product features
- Scenario 0:
- Connect Outputs:
- Connect the
0output to a "Technical Support Chatflow" node. - Connect the
1output to a "Billing Inquiry Chatflow" node. - Connect the
2output to a "Product Information Chatflow" node. - Connect the
Elseoutput (which will be3in this case) to a "General Inquiry Chatflow" node.
- Connect the
This setup allows the AI to intelligently route user queries, providing a more personalized and efficient experience.