Creating Agents
Learn about creating agents and how to implement it effectively.
Creating Agents
Agents in InnoSynth-Forjinn are advanced AI constructs that can reason, use tools, and make decisions to achieve specific goals. They extend the capabilities of simple chatflows by enabling more autonomous and intelligent behavior.
Deep Research Agent Demo
What is an Agent?
Unlike a basic chatflow that follows a predefined sequence, an agent is powered by an LLM that acts as its "brain." This LLM observes the environment (inputs), decides which tools to use (if any), executes those tools, and then observes the results to determine its next action. This iterative process allows agents to handle more complex and dynamic tasks.
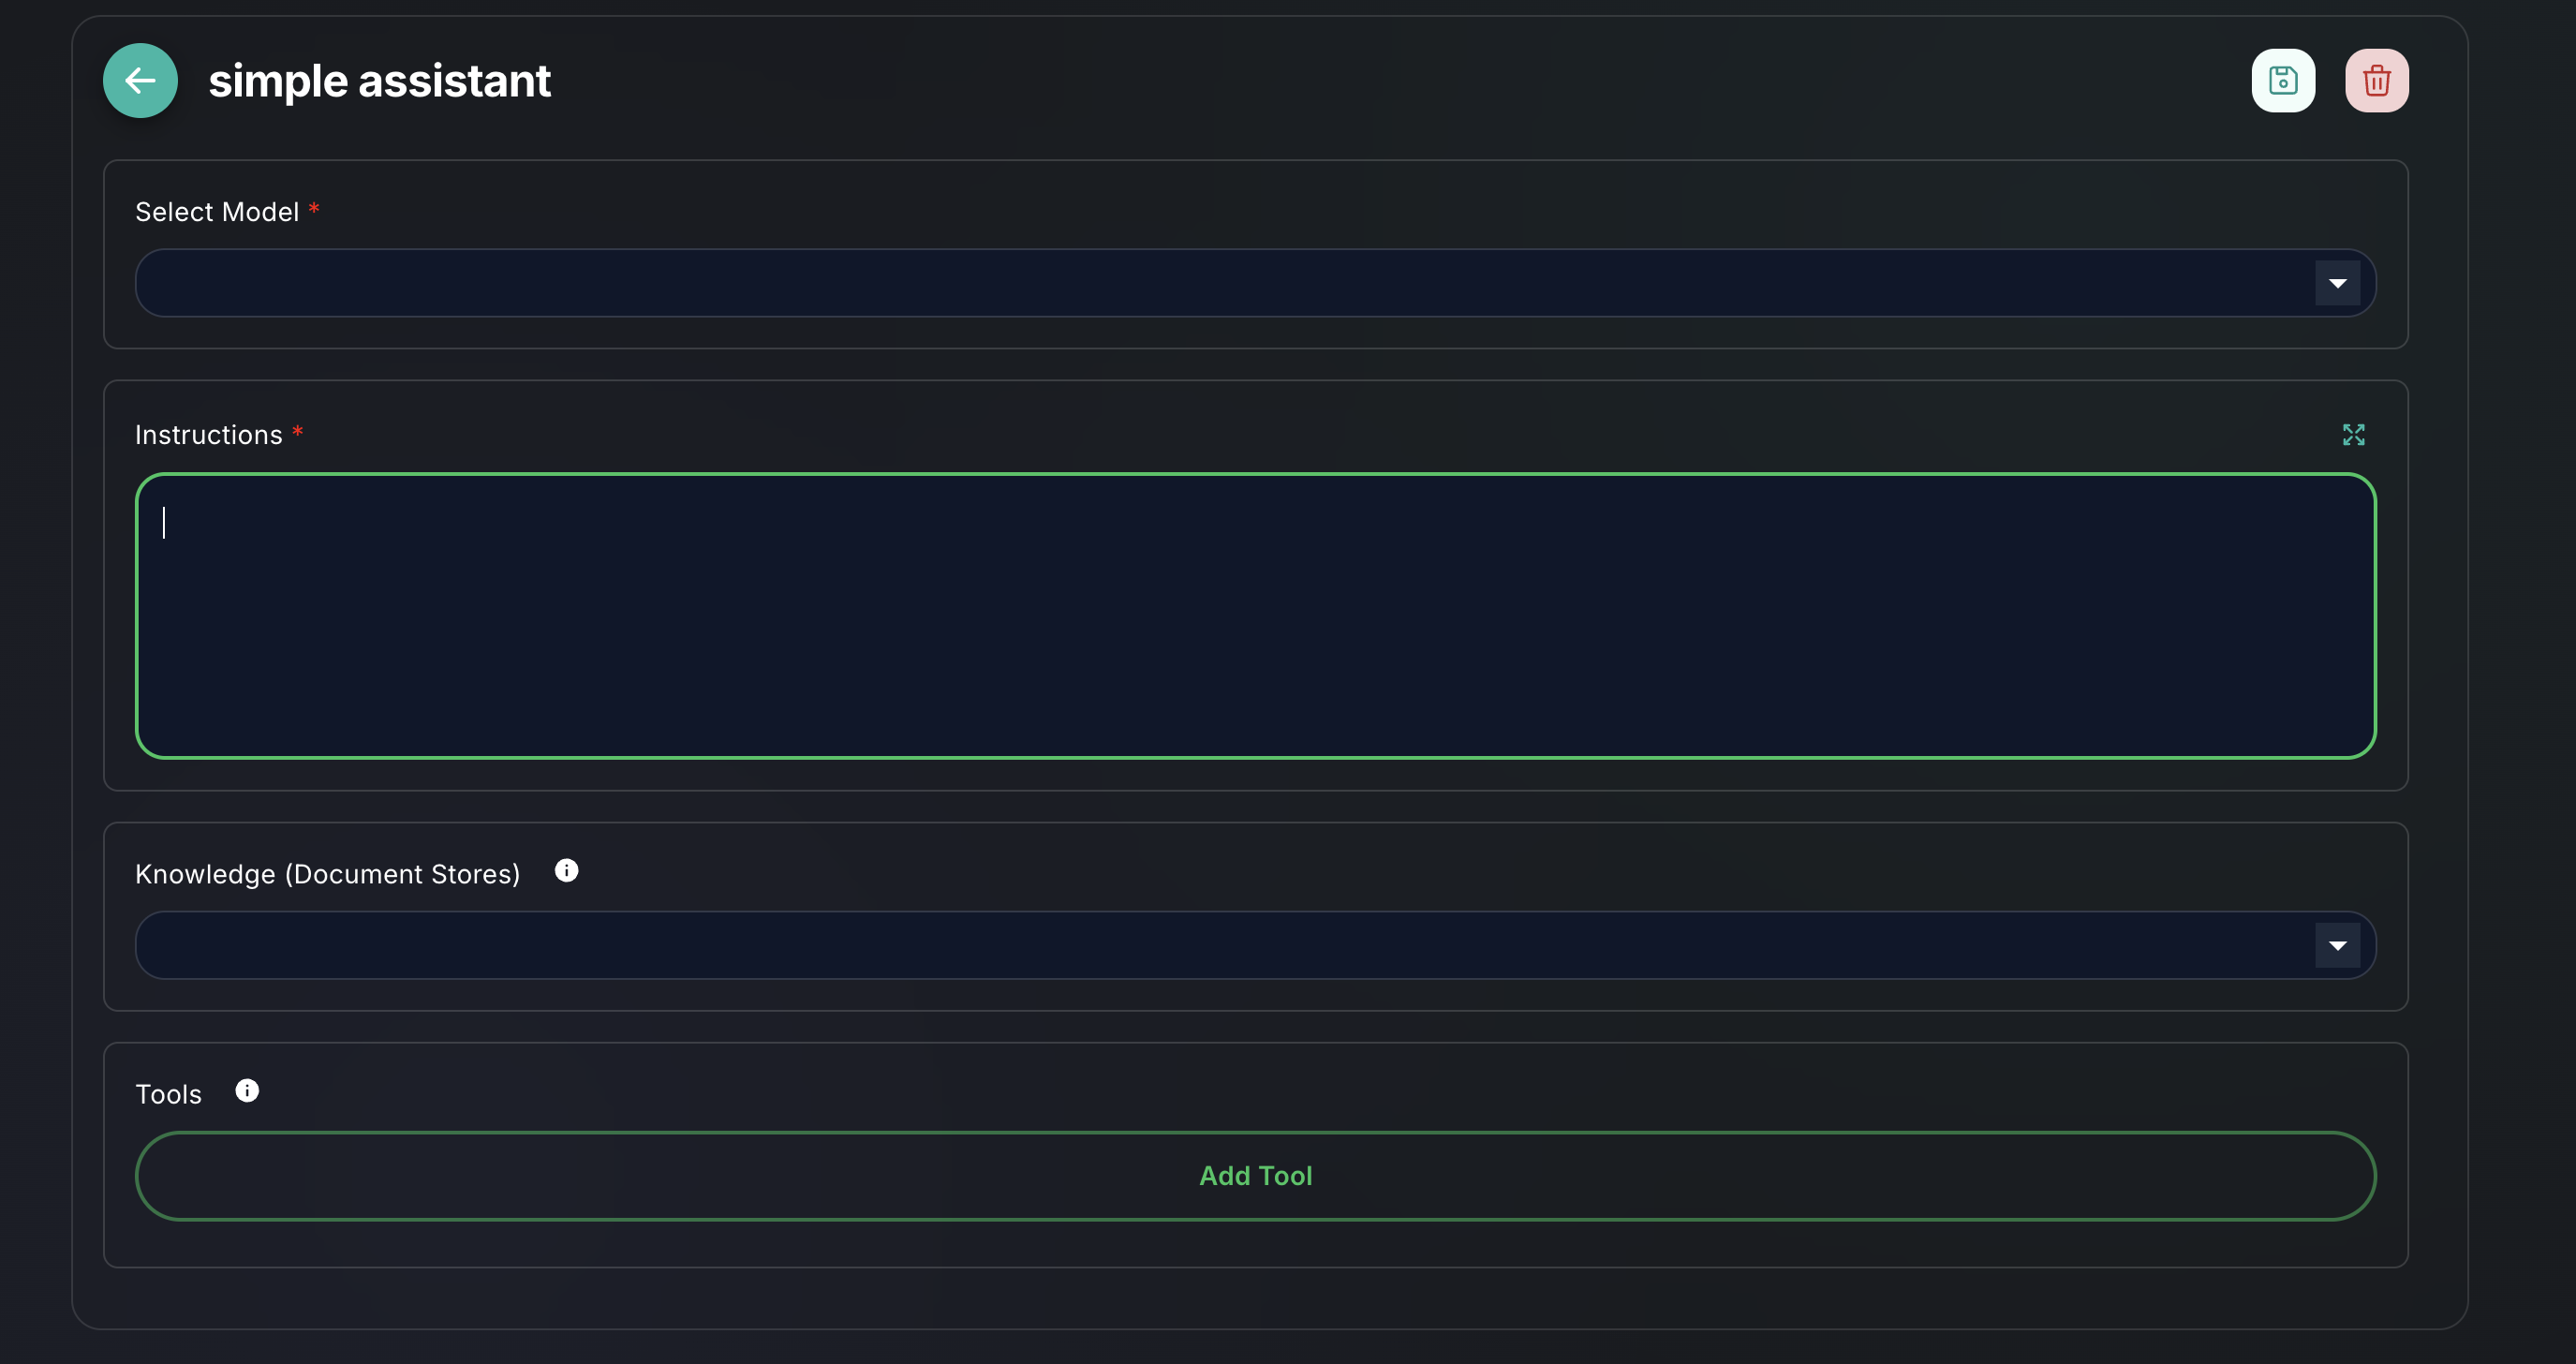
Accessing the Agent Builder
- Navigate to Agents: From the left-hand sidebar, click on "Agents".
- Create New: Click the "New Agent" button to start configuring a new agent. If you want to edit an existing agent, click on its name from the list.
Key Components of an Agent
When creating an agent, you'll typically configure the following:
-
Agent Type:
- Choose the reasoning framework your agent will use (e.g., Conversational Agent, ReAct Agent). Each type has different strengths and is suited for different tasks.
- (Refer to agent types for more details)
-
Large Language Model (LLM):
- Select the LLM that will serve as the agent's reasoning engine. This is the core intelligence that drives the agent's decisions.
- Ensure you have configured the necessary Credentials for your chosen LLM.
-
Tools:
- Provide the agent with a set of tools it can use to interact with the outside world. These tools can be anything from a search engine to a custom API.
- The agent will decide which tool to use based on its current goal and observations.
- (Refer to Integrating Tools for more details)
-
Memory (Optional but Recommended):
- Integrate a memory component to give your agent conversational context. This allows the agent to remember past interactions and maintain a coherent conversation over time.
-
Prompt/Instructions:
- Define the agent's primary goal, persona, and any specific instructions or constraints it should follow. This initial prompt guides the agent's behavior.
Steps to Create an Agent
- Choose Agent Type: Select the most appropriate agent type for your use case.
- Configure LLM: Select your preferred LLM and ensure its credentials are set up.
- Add Tools: Select and configure the tools that your agent will have access to.
- Set Up Memory: (Optional) Add and configure a memory component if your agent needs to maintain conversational context.
- Define Instructions: Write a clear and concise prompt that outlines the agent's purpose and how it should behave.
- Save and Deploy: Save your agent configuration. Once saved, you can deploy it to make it active.
Example: A Search-Enabled Agent
- Select
Conversational Agenttype. - Choose
OpenAI Chat Modelas the LLM. - Add a
Google Searchtool. - Add
Conversational Buffer Memory. - Set instructions: "You are a helpful assistant that can answer questions by searching the internet. If you don't know the answer, use the search tool."
- Save and deploy.
This agent can now answer questions by performing web searches when it deems necessary.
For monitoring your agent's actions and debugging, refer to agent executions.