Building Chatflows
Learn about building chatflows and how to implement it effectively.
3 min read
🆕Recently updated
Last updated: 12/9/2025
Building Chatflows
Chatflows are the core of InnoSynth-Forjinn, allowing you to visually design and deploy AI-driven workflows. This guide will walk you through the process of building your own chatflows.
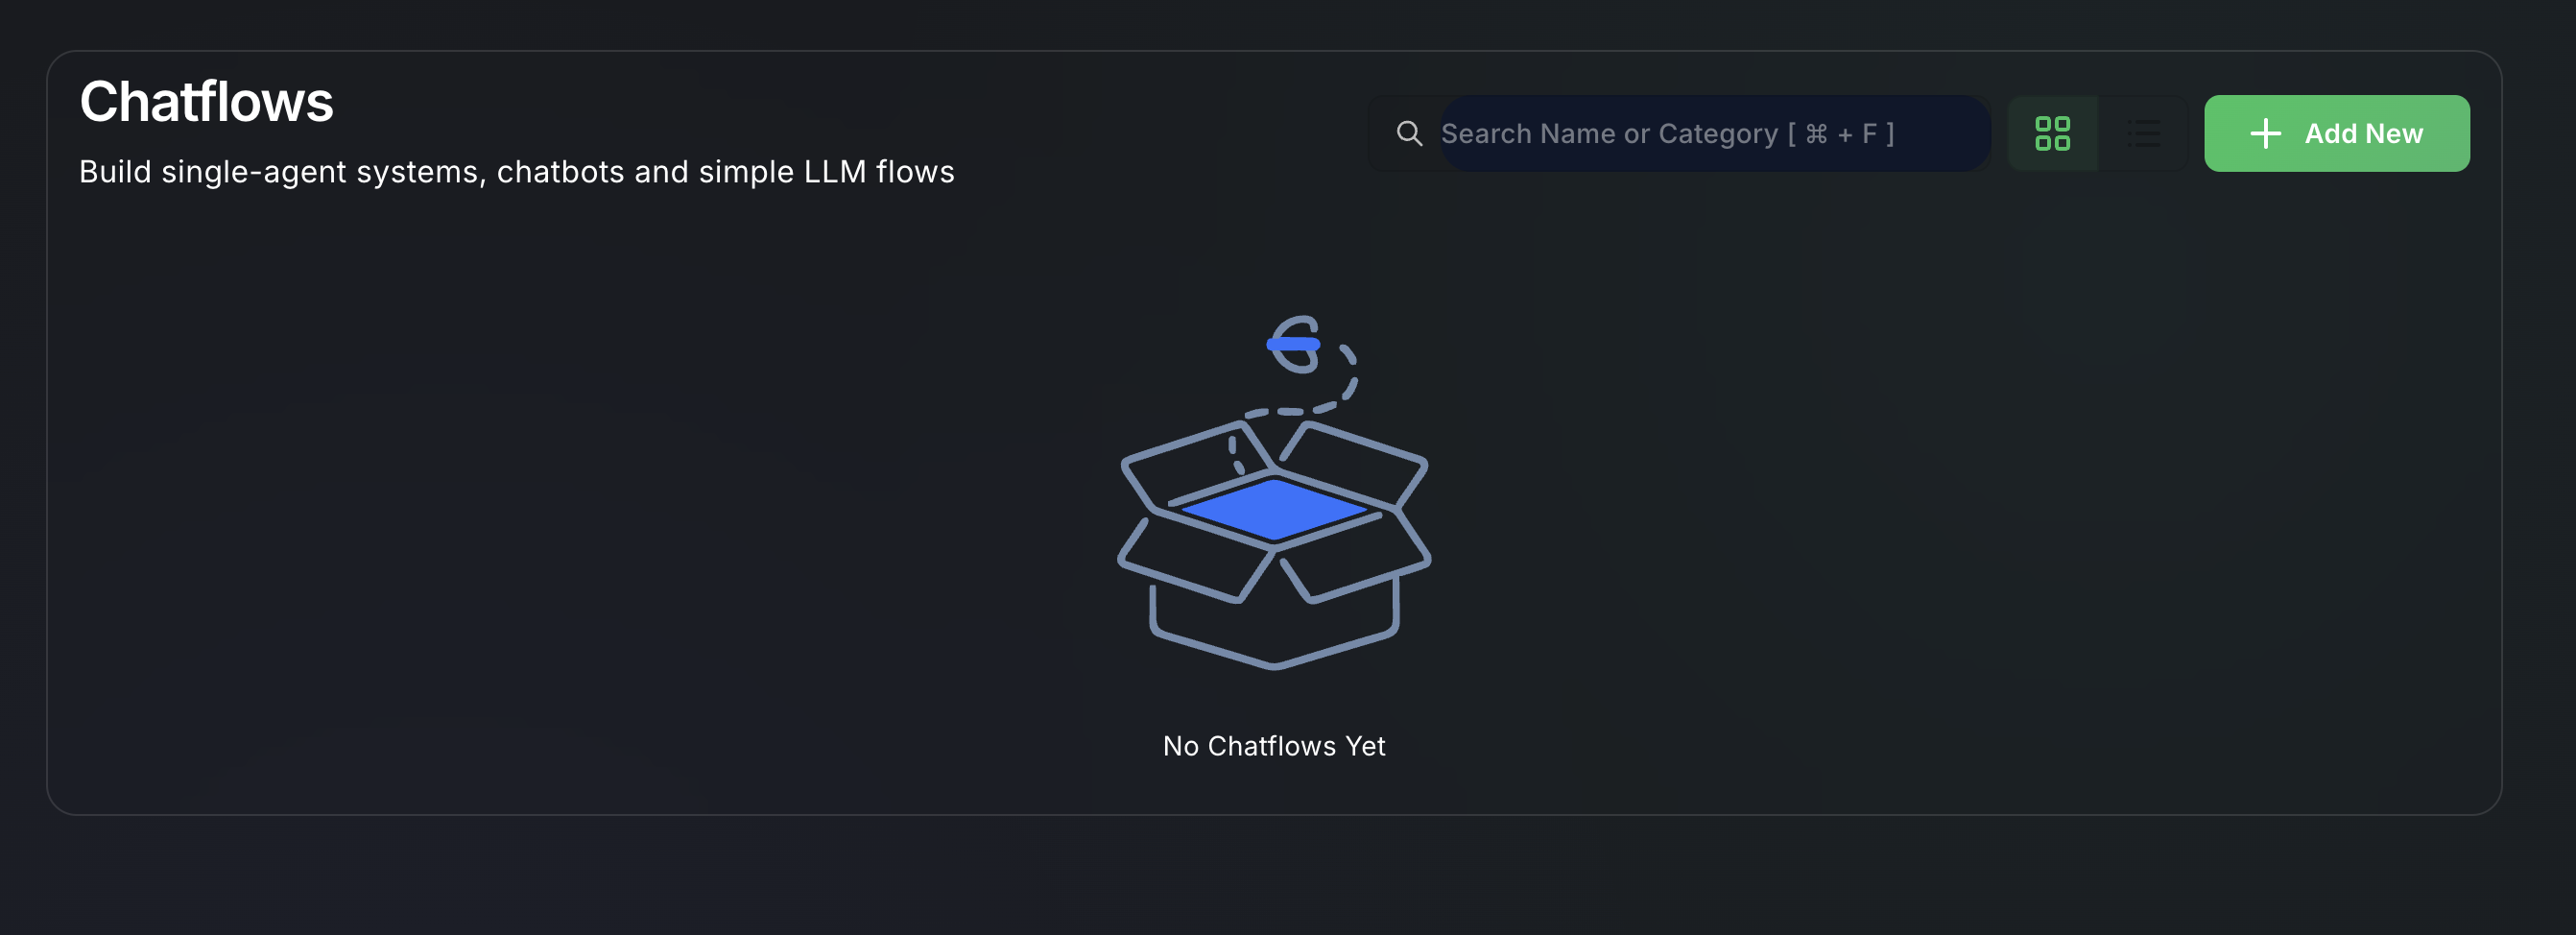
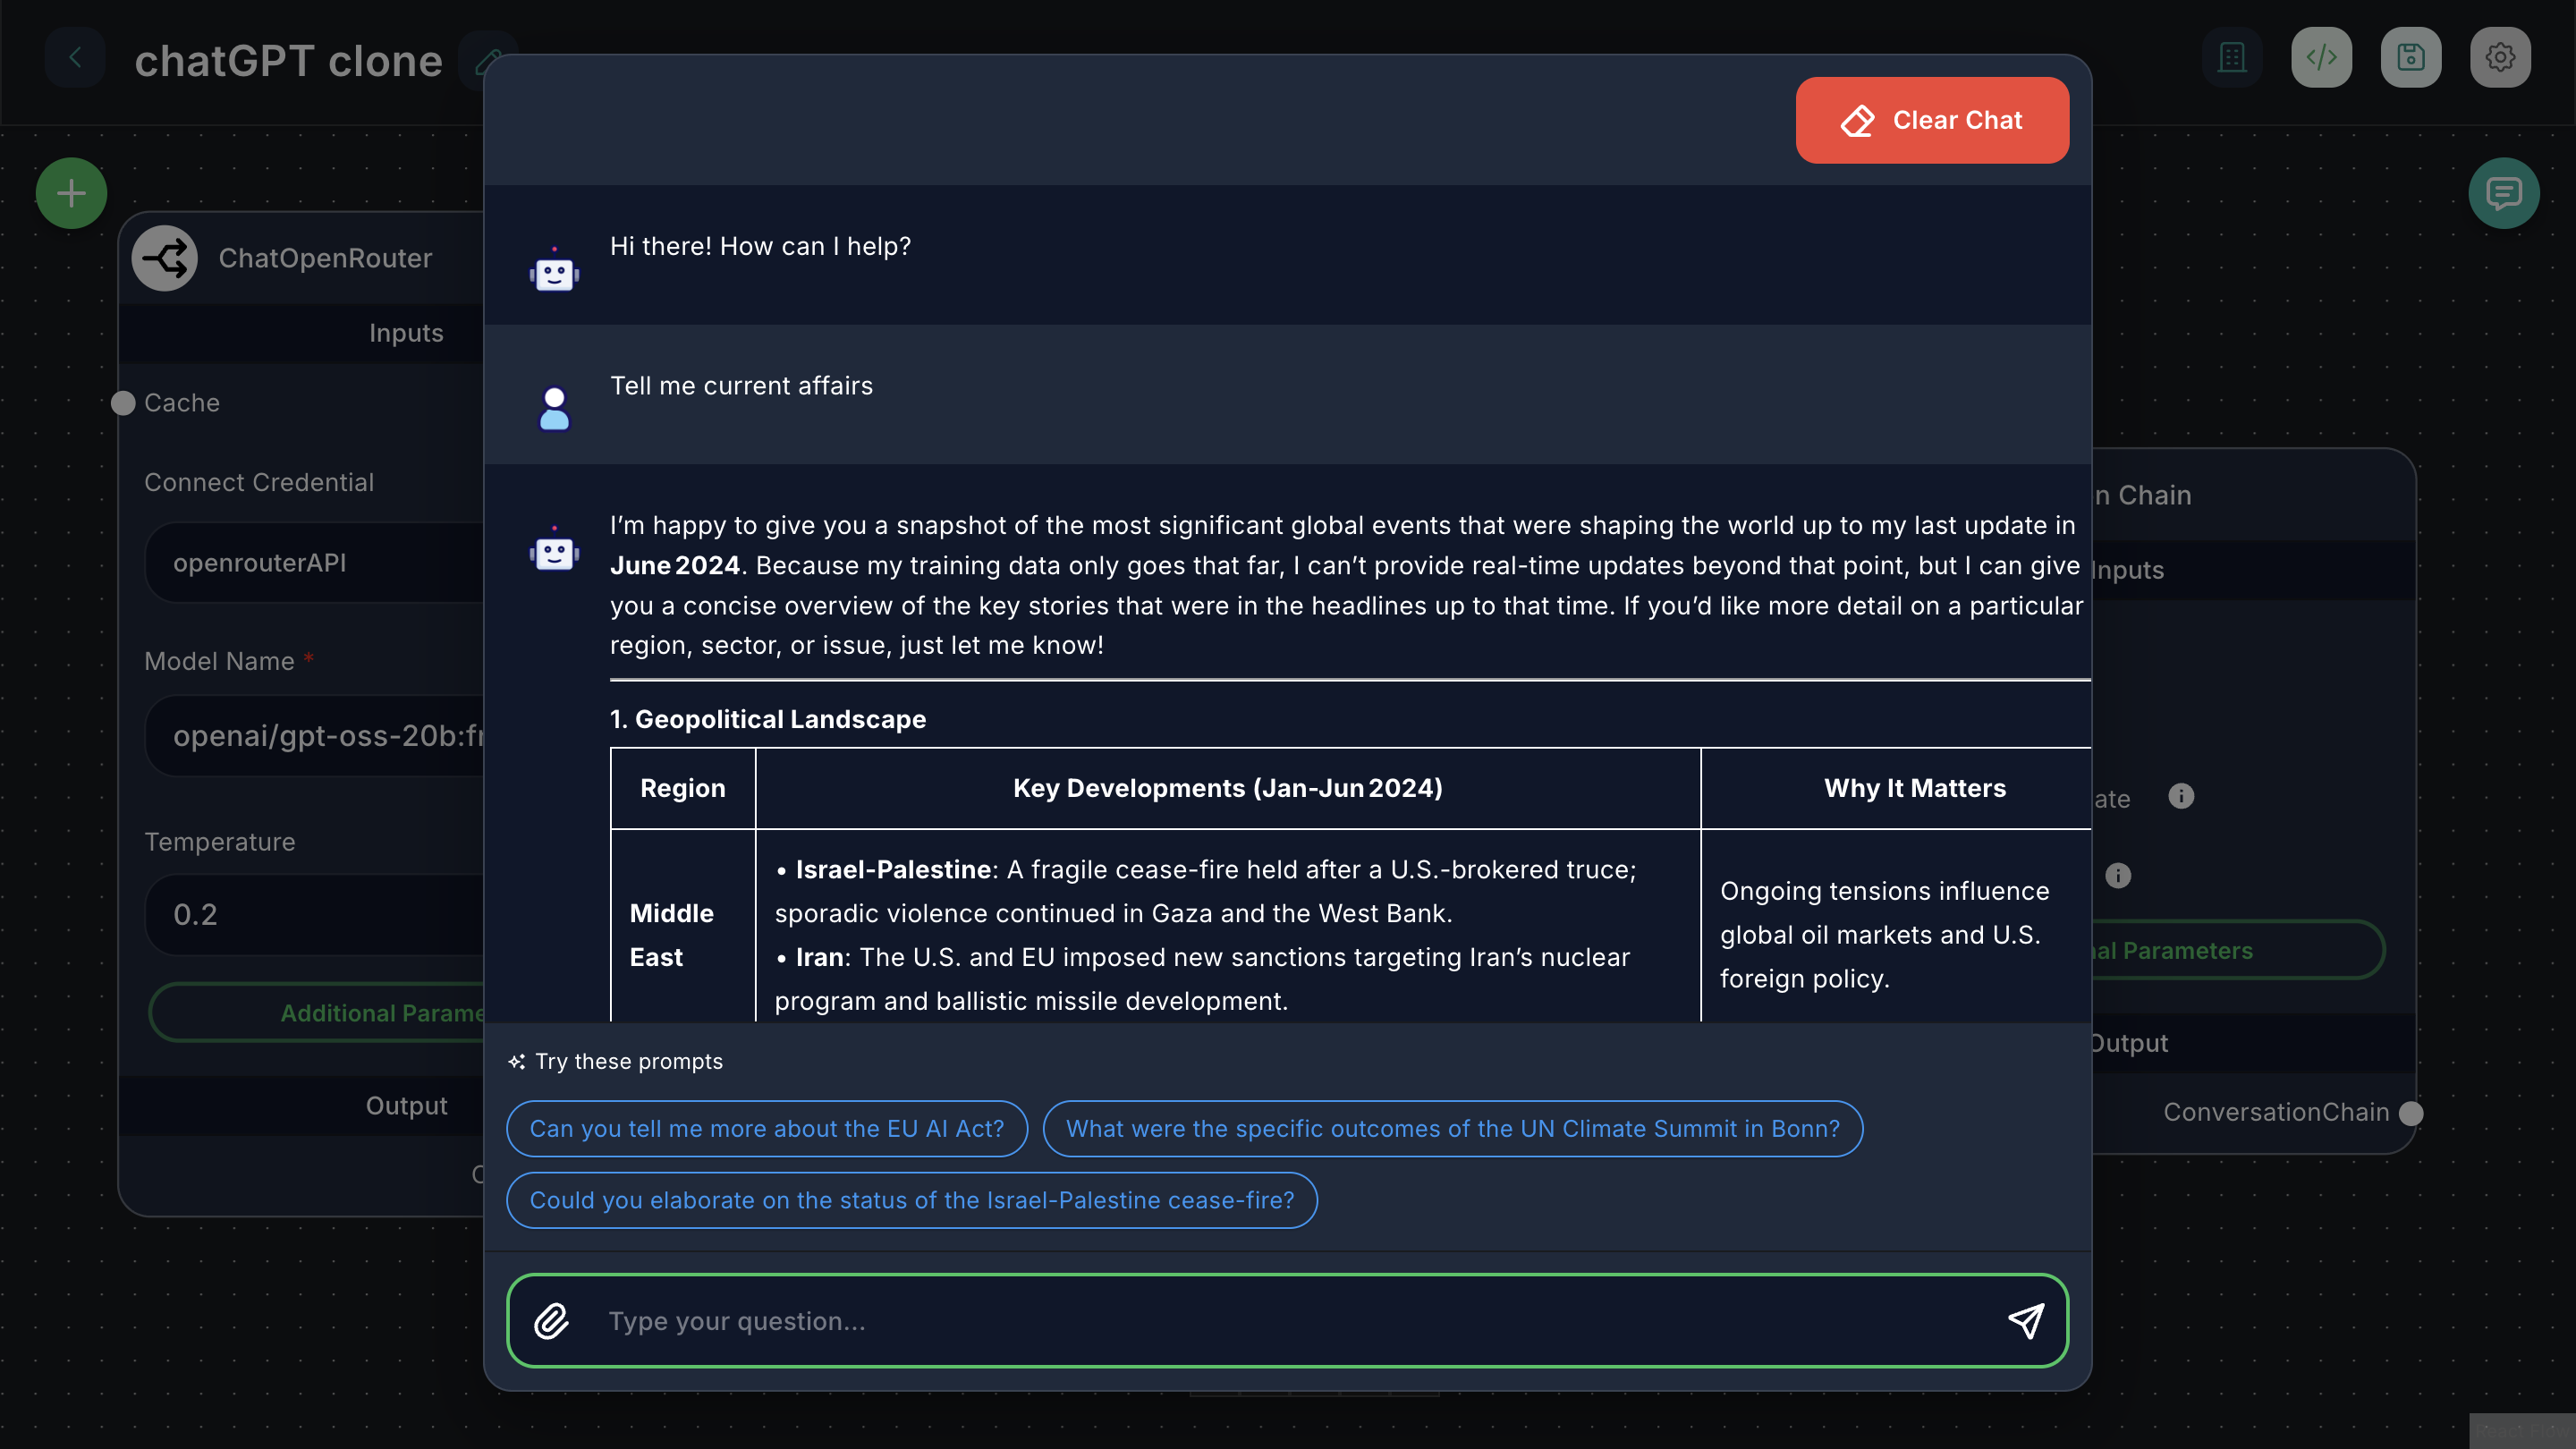
Accessing the Chatflow Builder
- Navigate to Chatflows: From the left-hand sidebar, click on "Chatflows".
- Create New: Click the "Add New" button to open a blank canvas. If you want to edit an existing chatflow, click on its name from the list.
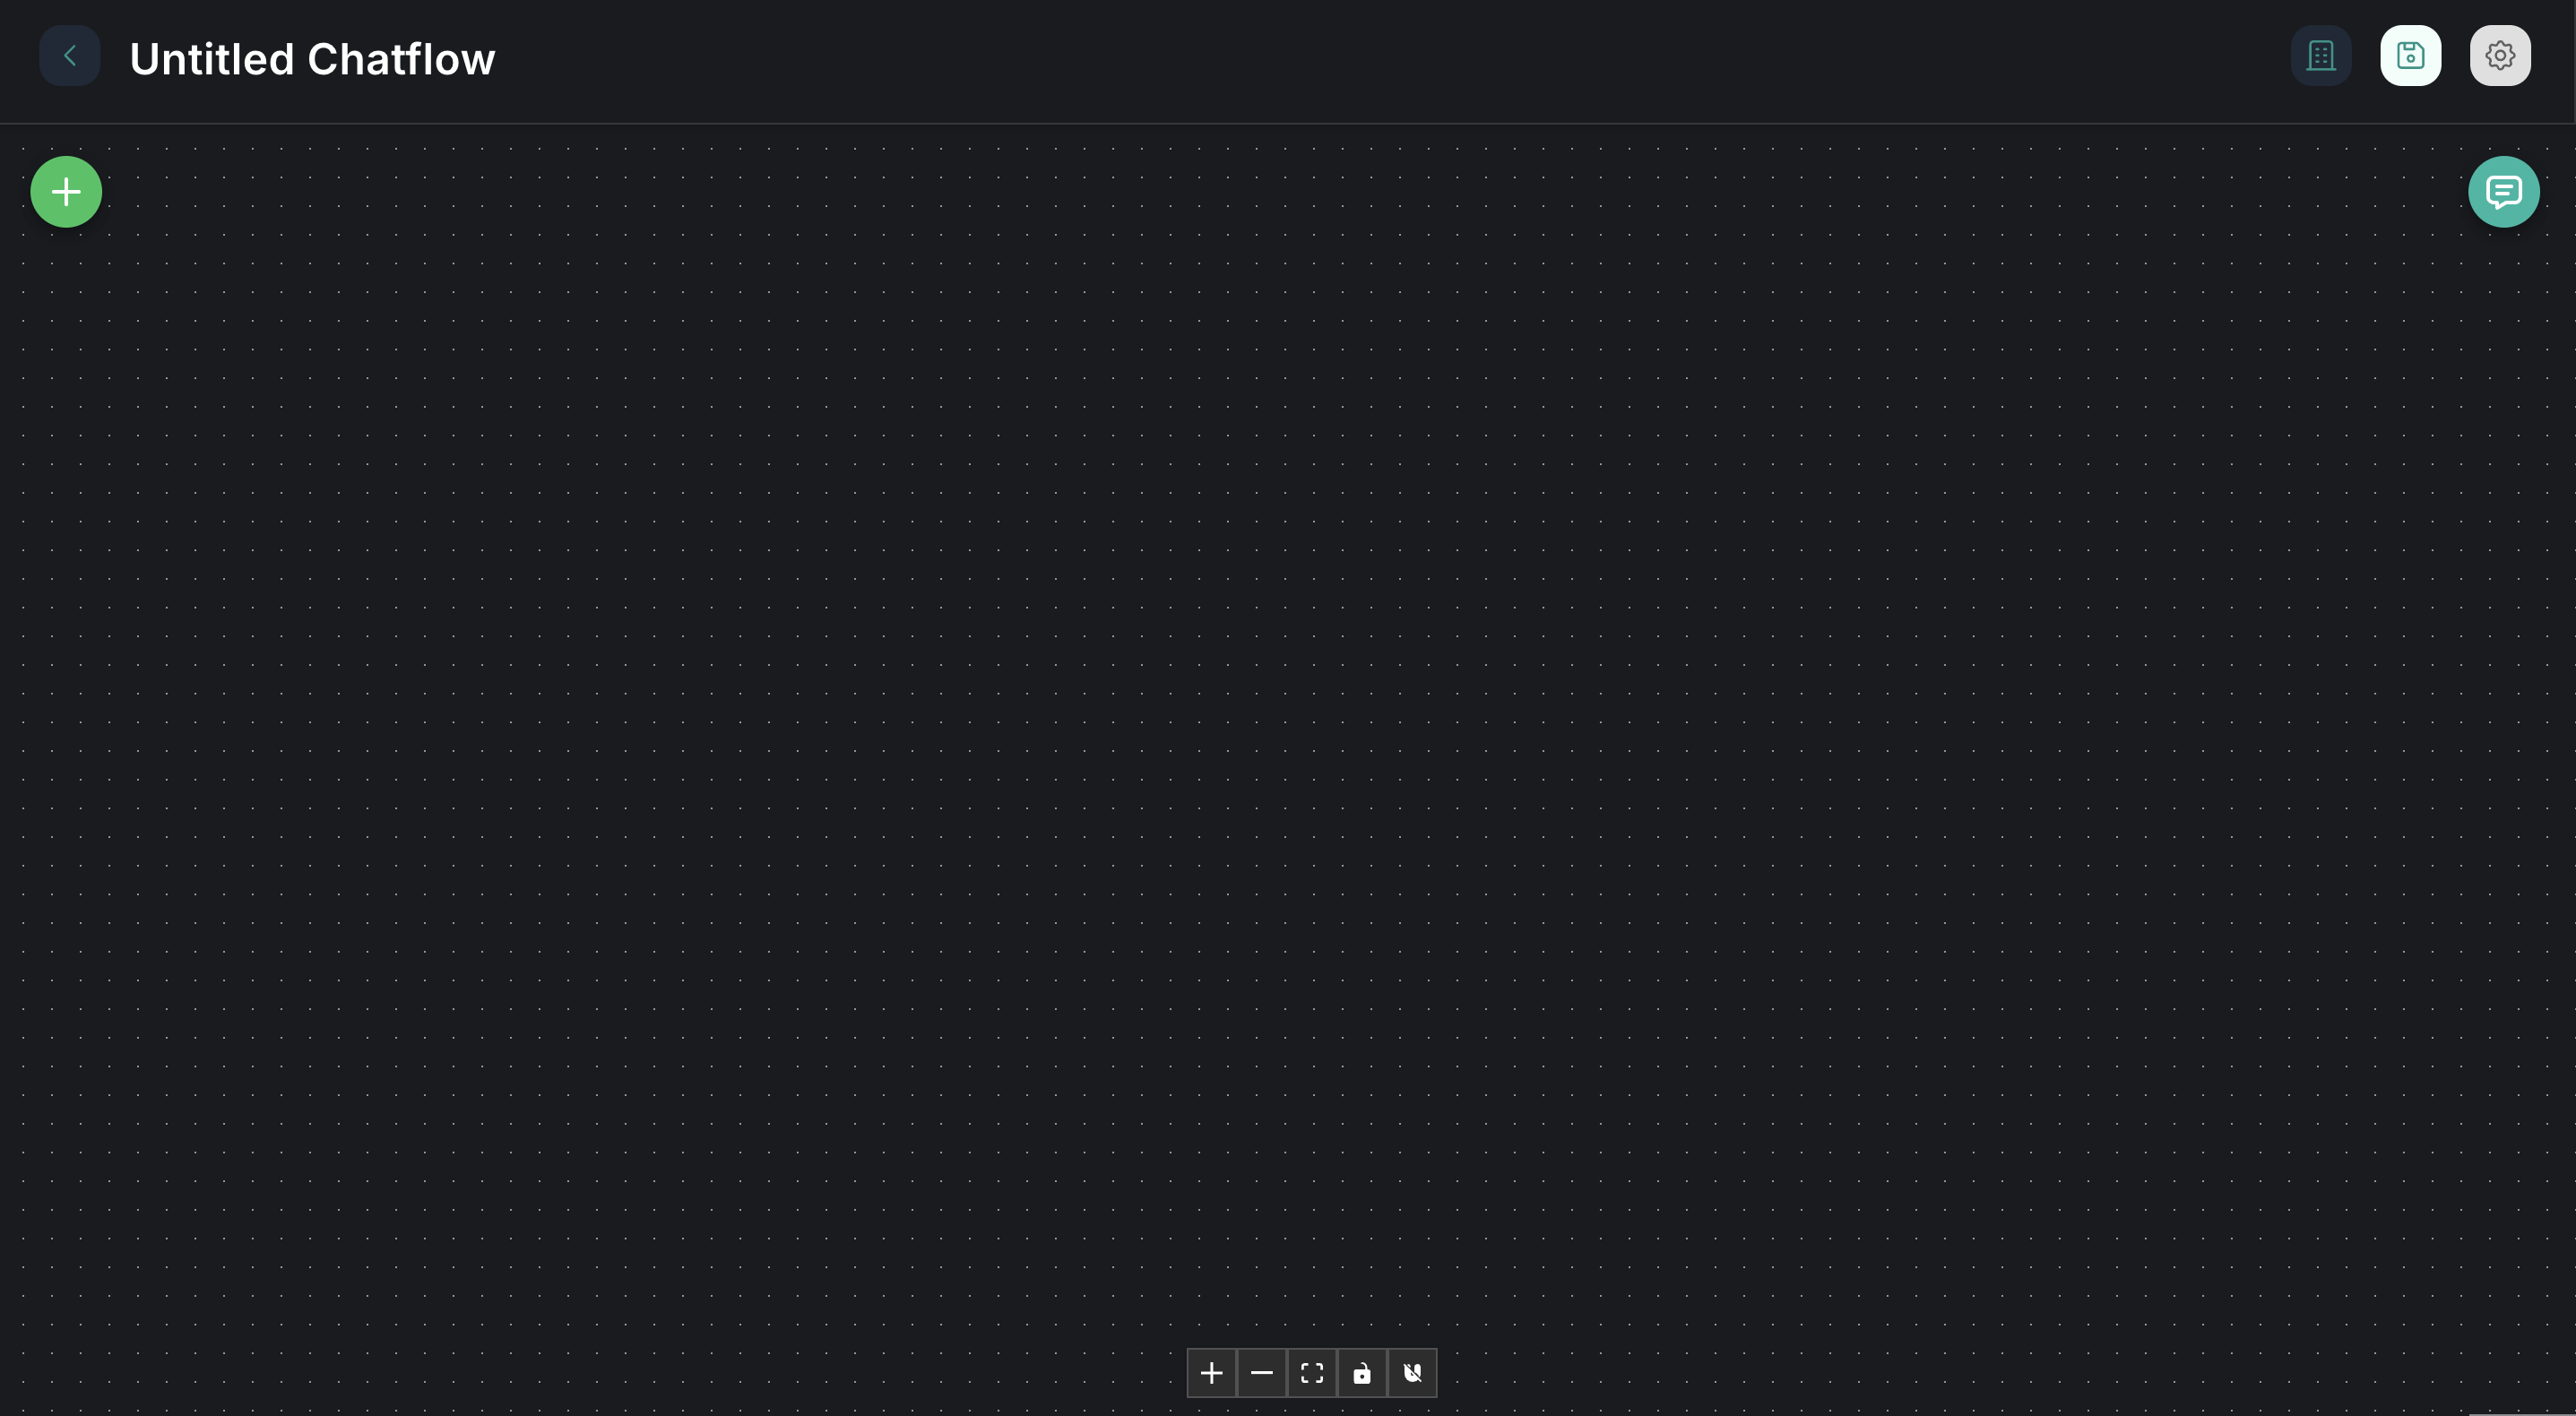
The Chatflow Canvas
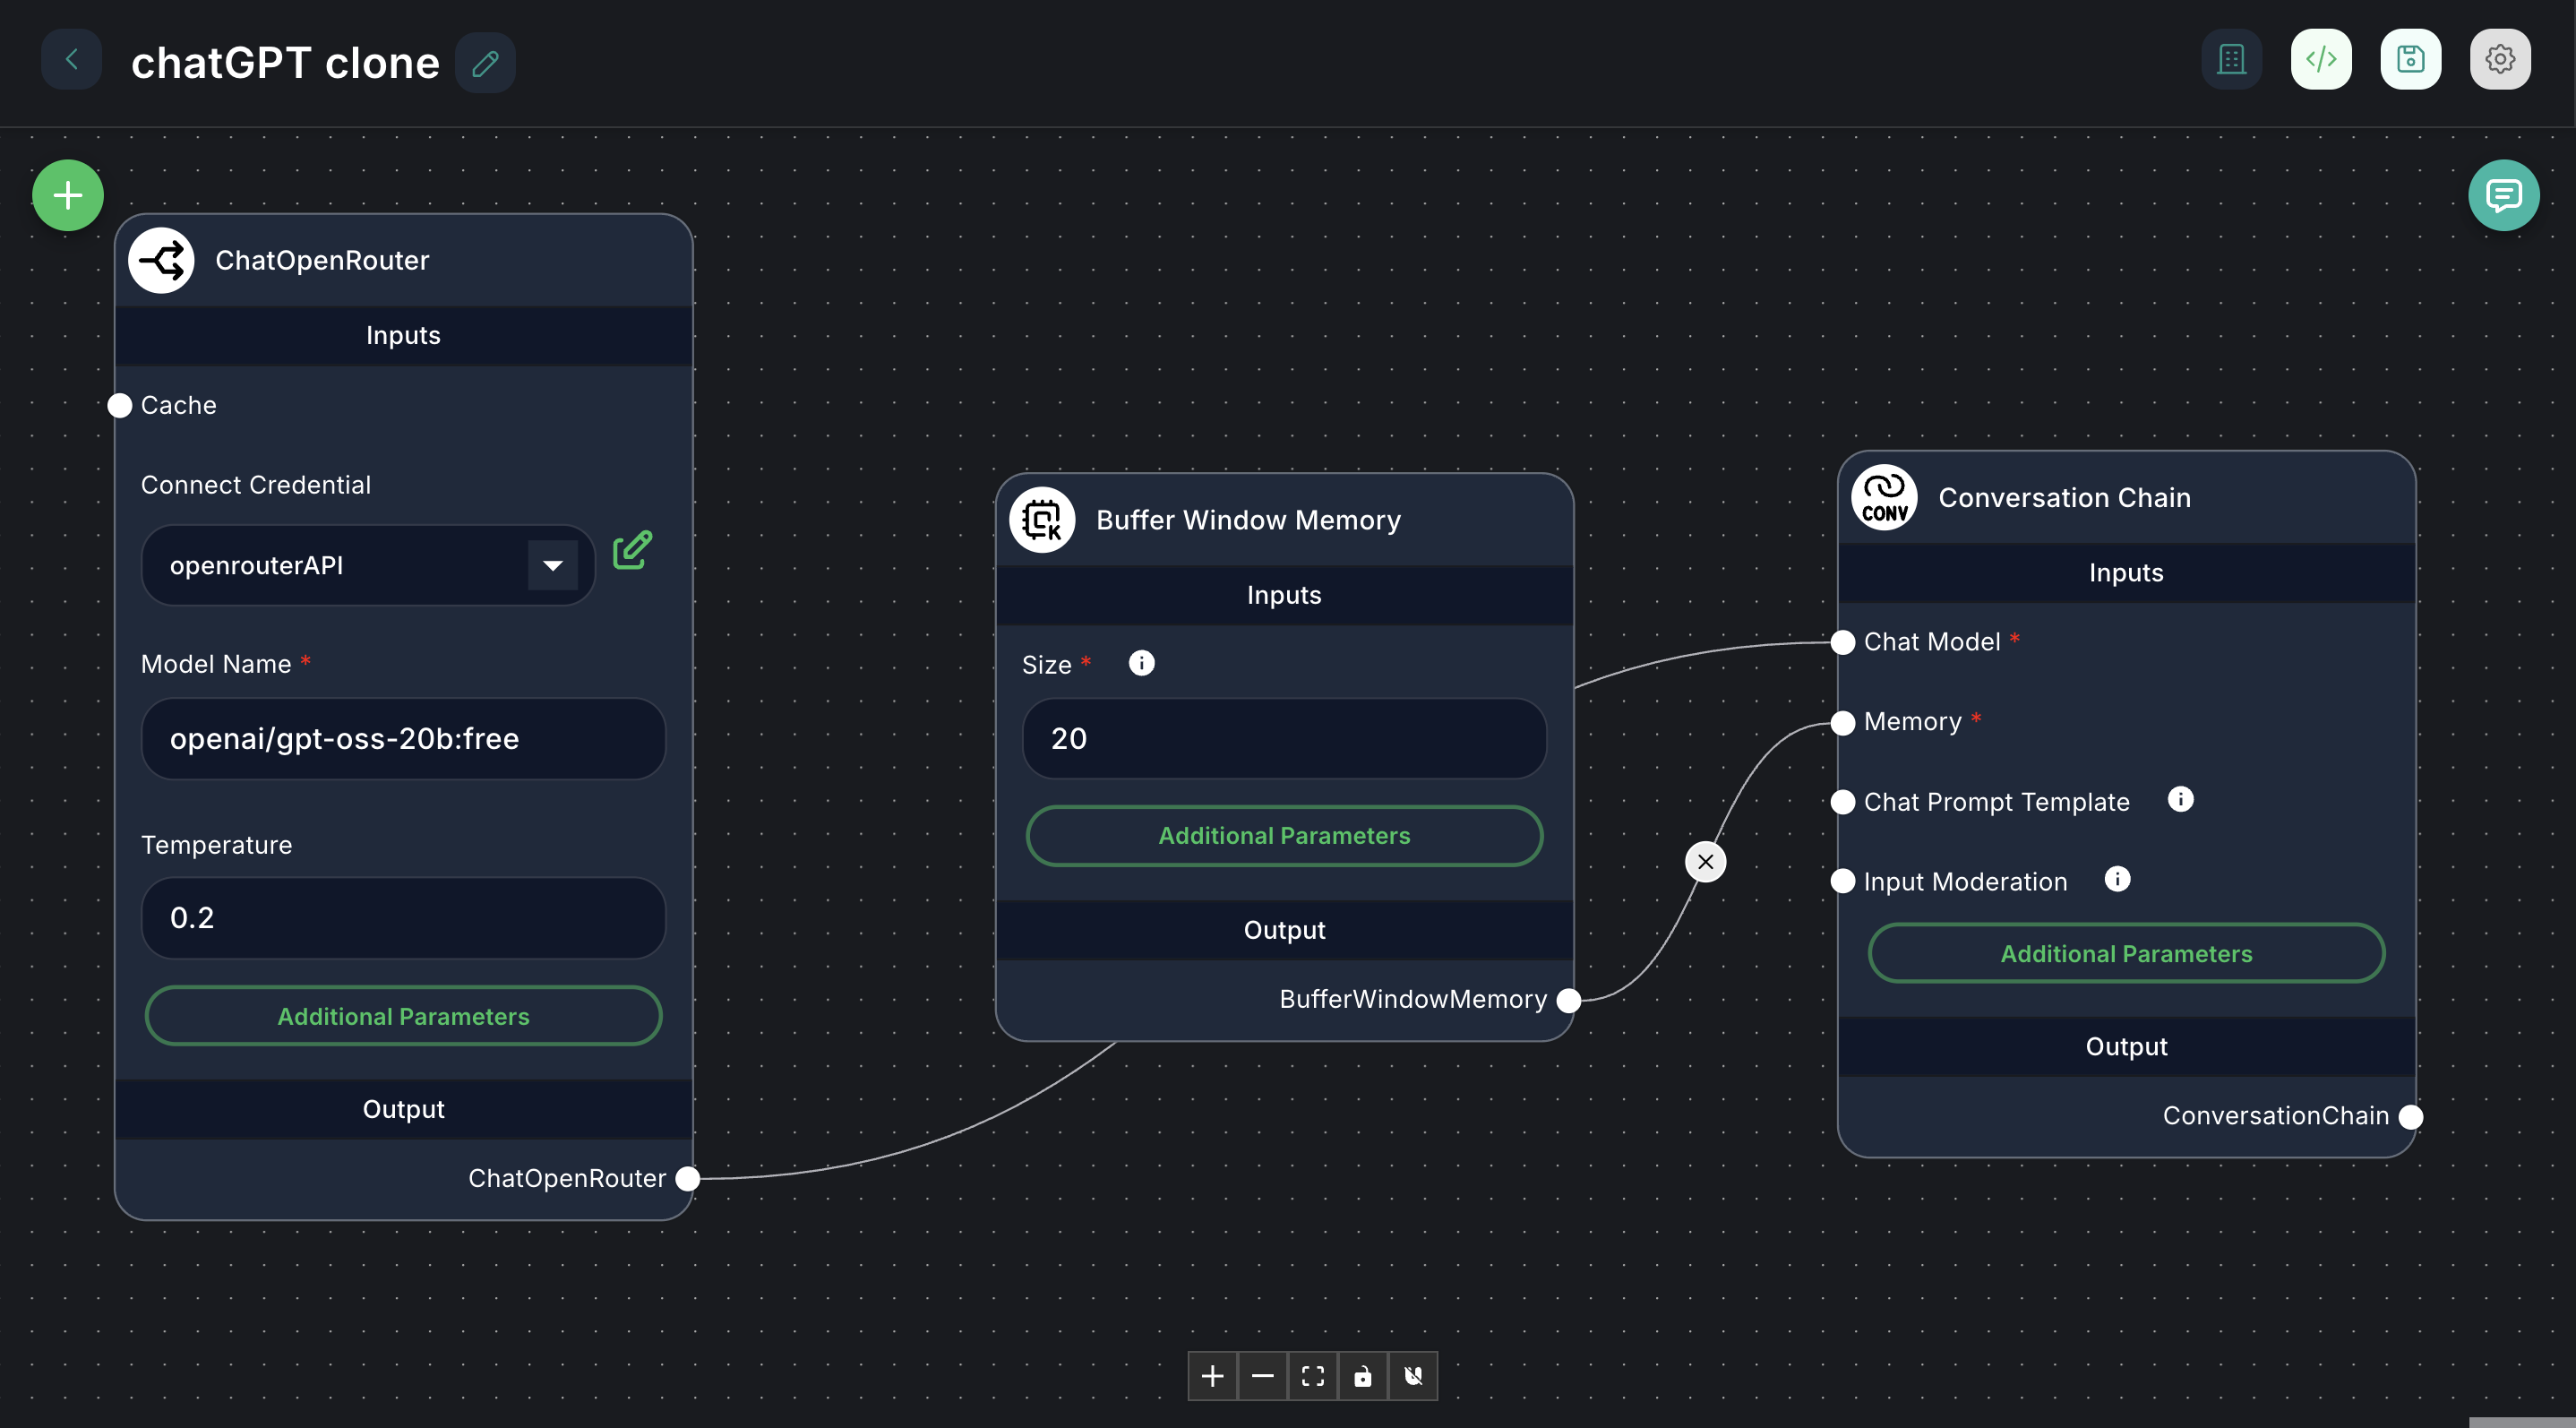
The chatflow builder consists of a central canvas where you drag, drop, and connect components to define your workflow.
- Left Panel (components library): This panel contains all available components, categorized for easy access (e.g., LLMs, Tools, Memory, Prompts).
- Central Canvas: This is where you assemble your workflow by dragging components and connecting them.
- Right Panel (Component Configuration): When you select a component on the canvas, its specific configuration options appear here.
- Bottom Right (Chat Interface): A mini-chat window for testing your chatflow in real-time.
Steps to Build a Chatflow
- Drag and Drop Components:
- Browse the components library in the left panel.
- Drag the desired components onto the canvas. Common starting components include:
- LLMs (Large Language Models): For AI reasoning and text generation.
- Prompt Templates: To structure inputs for LLMs.
- Tools: To enable your AI to interact with external services (e.g., search, databases).
- Memory: To give your AI conversational context.
- Document Loaders/Vector Stores: For RAG (Retrieval Augmented Generation) applications.

- Connect Components:
- Components have input and output ports (small circles) on their edges.
- Drag a line from an output port of one component to an input port of another to create a connection.
- Connections define the flow of data and execution in your workflow. For example, the output of a "Prompt Template" might connect to the input of an "LLM."
-
Configure Each Component:
- Click on a component on the canvas to select it.
- The right panel will display its configuration options.
- LLM Components: Select the specific model (e.g., GPT-4, Claude), provide API keys (if not already set in Credentials), and adjust parameters like temperature or max tokens.
- Prompt Templates: Write your prompt, using variables (e.g.,
{{input}}) that will be filled by other components or user input. - Tool Components: Configure the tool's specific parameters, such as search queries or database connection details.
- Memory Components: Choose the type of memory (e.g., conversational buffer, chat history) and its settings.
-
Add Chat Output:
- Always include a "Chat Output" component at the end of your main workflow chain. This component ensures that the final AI response is displayed in the chat interface.
Example: Simple Q&A Chatflow
- Drag
Prompt Templateto canvas. - Drag
OpenAI Chat Modelto canvas. - Drag
Chat Outputto canvas. - Connect
Prompt Templateoutput toOpenAI Chat Modelinput. - Connect
OpenAI Chat Modeloutput toChat Outputinput. - Configure
Prompt Template:Answer the following question: {{question}} - Configure
OpenAI Chat Model: Select your OpenAI credential and model. - Save your chatflow.
Now you can test this chatflow by typing a question into the chat interface.
For more details on specific components, refer to the components library.